Mastering Shower Tile and Grout Repairs: A Detailed Guide
May 24, 2024
Mastering Shower Tile and Grout Repairs: A Detailed Guide
Whether you're aiming to enhance your bathroom's aesthetics or address maintenance issues, understanding how to repair shower tile and grout effectively is essential. This comprehensive blog provides insights into common issues and step-by-step solutions for repairing damaged grout and tiles in your shower:
Understanding Tile Grout
- What Is Tile Grout?
- Grout is a mix of water, sand, and cement used to seal spaces between tiles, commonly found in bathrooms and kitchens.
- Over time, grout can crack, wear away, or become discolored due to debris and staining liquids.
Repairing Damaged Grout: A Step-by-Step Guide
- How to Repair Crumbling Grout:
- Remove Crumbling Grout:
- Use a grout saw or utility knife to carefully scrape out damaged grout without harming the tiles.
- Mix Grout:
- Prepare the right type of grout according to manufacturer instructions for seamless application6.
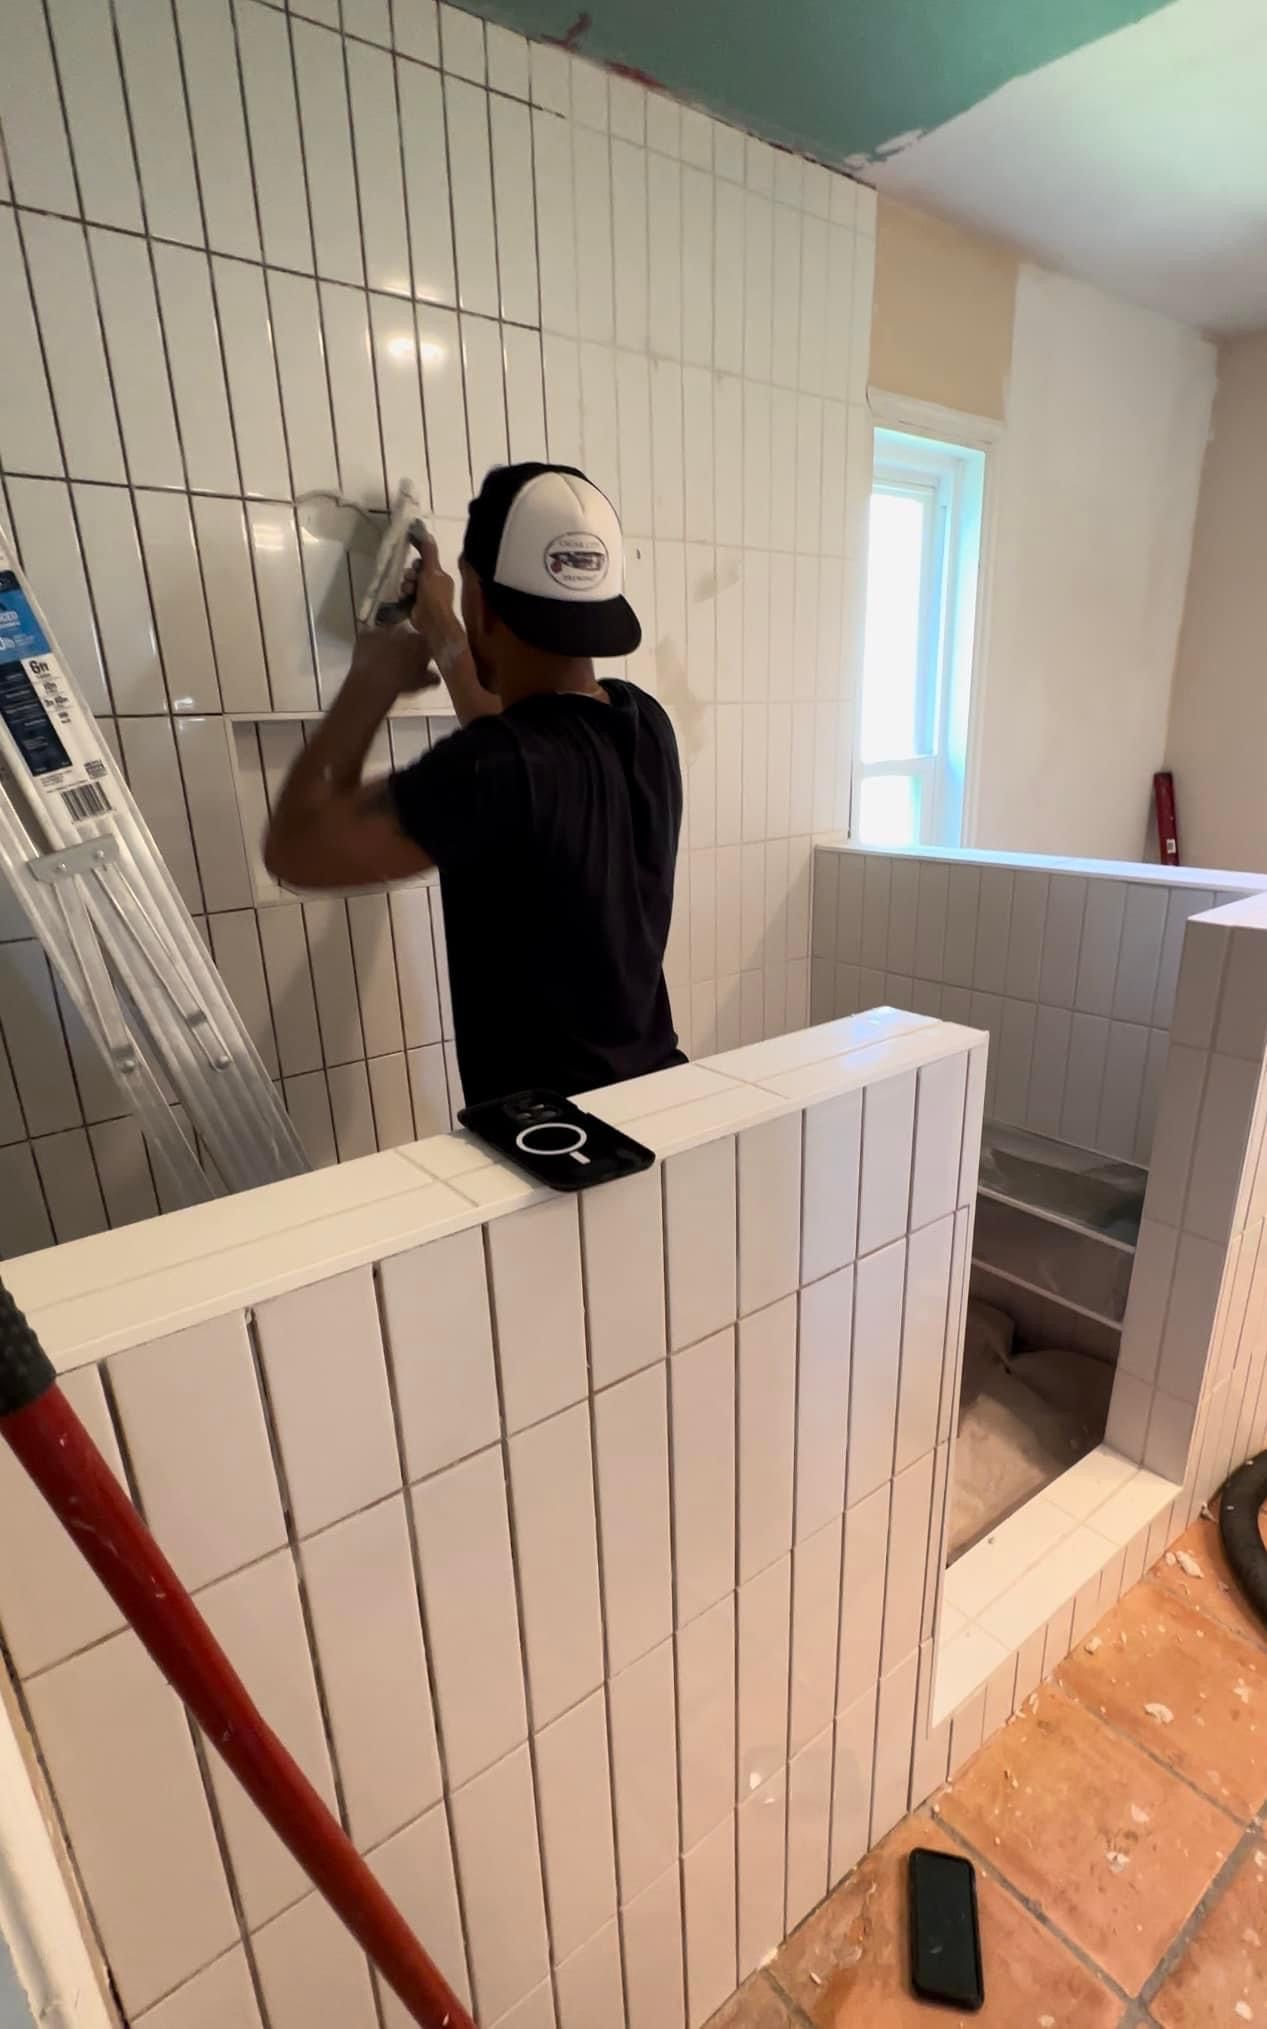
- Apply Grout:
- Carefully fill gaps with grout using a rubber grout float to ensure proper adhesion.
- Wipe Away Residue:
- Use a damp sponge to clean excess grout from tile surfaces and wait for it to set.
- Seal the Grout:
- Seal the repaired grout after it has fully dried to enhance its longevity and protect against future damage.
- How to Fill in Missing Grout:
- Assess and Prepare the Area:
- Evaluate the surrounding grout; remove any damaged sections and prepare the space for new grout application.
- Grind Surrounding Area:
- Grind or sand down the surrounding area to create a suitable surface for the new grout to adhere to.
- Mix New Grout:
- Follow manufacturer instructions to mix and apply the new grout, ensuring it matches the existing color and texture.
- Apply the Grout:
- Use a grout float to apply and compact the new grout firmly into the gaps for a seamless finish.
- Seal the Grout:
- Seal the repaired grout to protect and maintain its appearance over time6.
- Cleaning and Maintenance Tips:
- Regular Cleaning: Use vinegar and water solutions for tile and grout cleaning.
- Mold and Mildew Removal: Address mold with bleach and ensure thorough cleaning to prevent respiratory issues.
- Grout Sealing: Seal the grout properly to prolong its lifespan and maintain its appearance6.
Professional Advice and Precautions
- Professional Tools:
- Consider investing in grout pens, grout removal tools, grout floats, and a shop vacuum for effective grout repair6.
- Sealing Grout:
- Choose between standard grout sealers and impregnators for enhanced protection against moisture and stains.
- Safety Precautions:
- Wear proper safety gear, proceed with caution when using grout removal tools, and follow manufacturer instructions for sealants to prevent accidents6.
By following these detailed instructions for repairing shower tile and grout, you can maintain a clean, well-maintained bathroom while preserving the longevity and appearance of your shower surfaces. Remember to prioritize safety and thorough cleaning to achieve professional-quality results in your DIY repair projects.

The Benefits of Tile and Grout Cleaning/Restoration and Bathtub Refinishing During a Recession
Factors Affecting the Cost of Saltillo Refinishing in Midland/Odessa, Texas
The Benefits Of A Grout Colored Sealer
The Art of Bathtub Transformation Through Refinishing
Professional House Cleaning Services in Midland and Odessa, Texas
How to Test for a Leaky Shower Pan
How a House Cleaner Can Actually Make Your Tile and Grout Dirtier
The Best Tile and Grout Cleaning Products: A Comprehensive Guide
Does Your Shower Repair Need a Plumber?
The Importance of Hiring a Tile and Grout Cleaning Company for Floor Maintenance